Clients
Normally if you offer crewing services your client can see, but not edit or approve, a Recruitment Pipeline's Stages. The Clients function lets you override this so you can offer them a more hands on approach.
This can be at any stage in the Pipeline, or just at the end when it comes to deciding whether or not to hire a candidate.
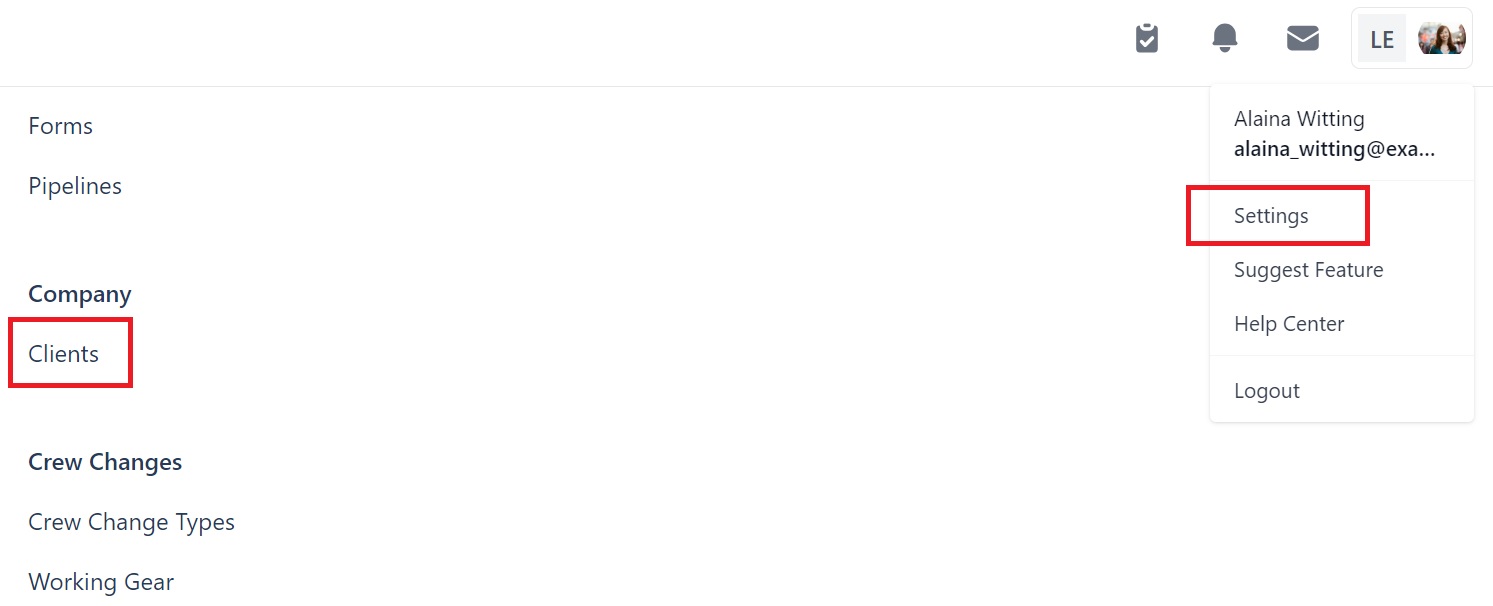
Log into Martide. Click Settings in the menu under your profile picture and then Clients:
You will see this page. In our example we have 3 clients:
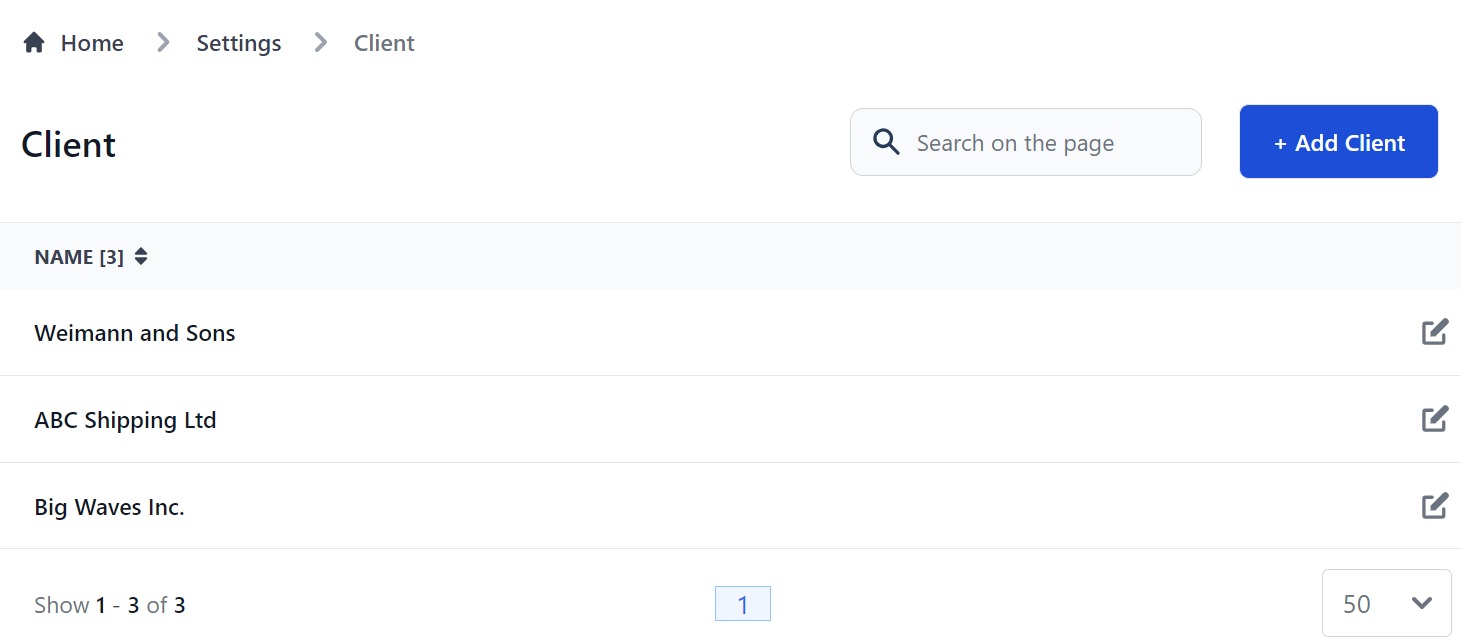
Here you can:
- Add a new client.
- Edit an existing client.
- Sort your clients alphabetically or numerically.
- Search for a client.
How to create a new client
Click the Add client button. You will see this pop-up box:
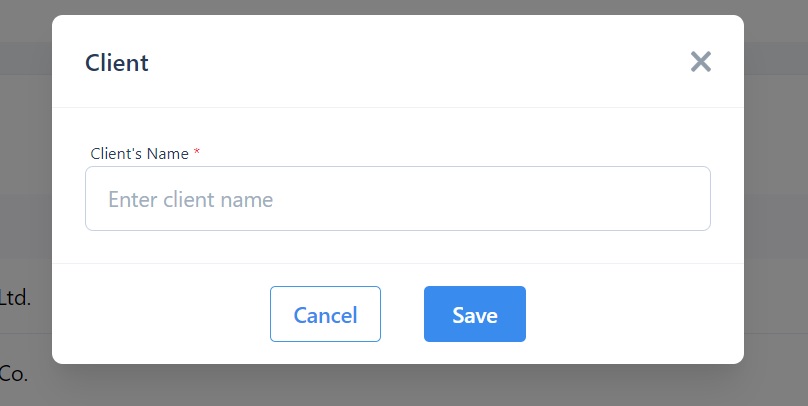
Enter your client's name and click Save. You will go back to the main Client page where you can see them in the list.
Now you need to add information about your client.
How to add client information
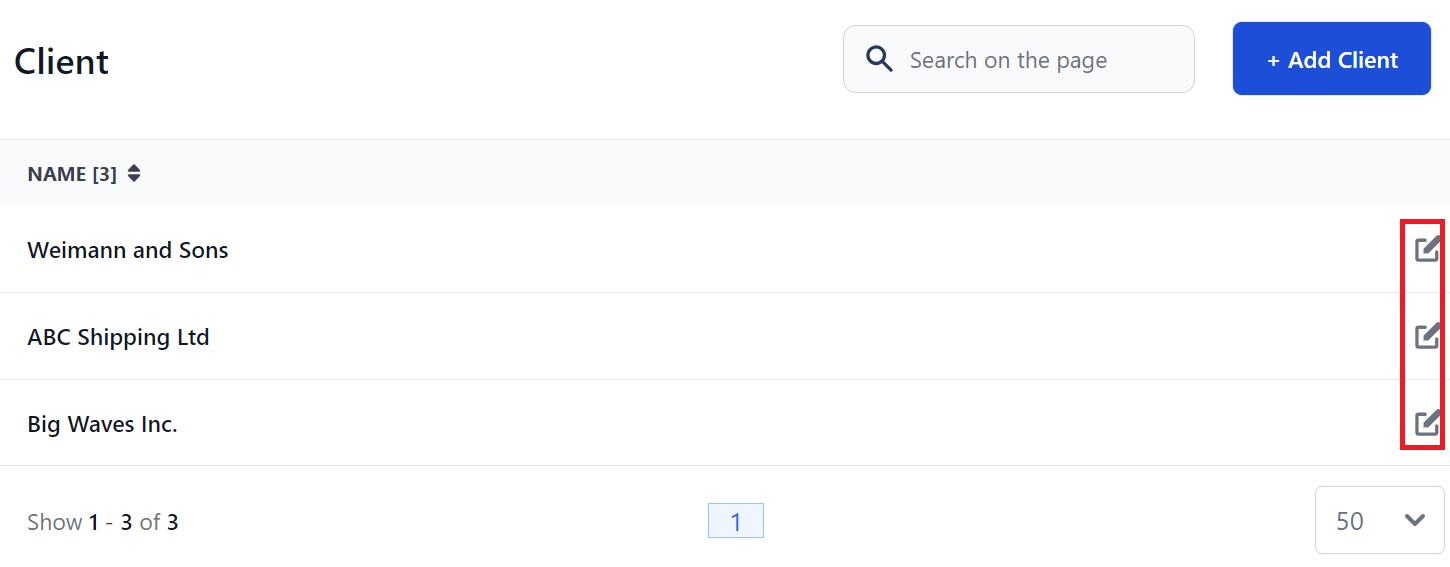
Click the pen icon to the right of the client you want to add information to:
You will go to this page:
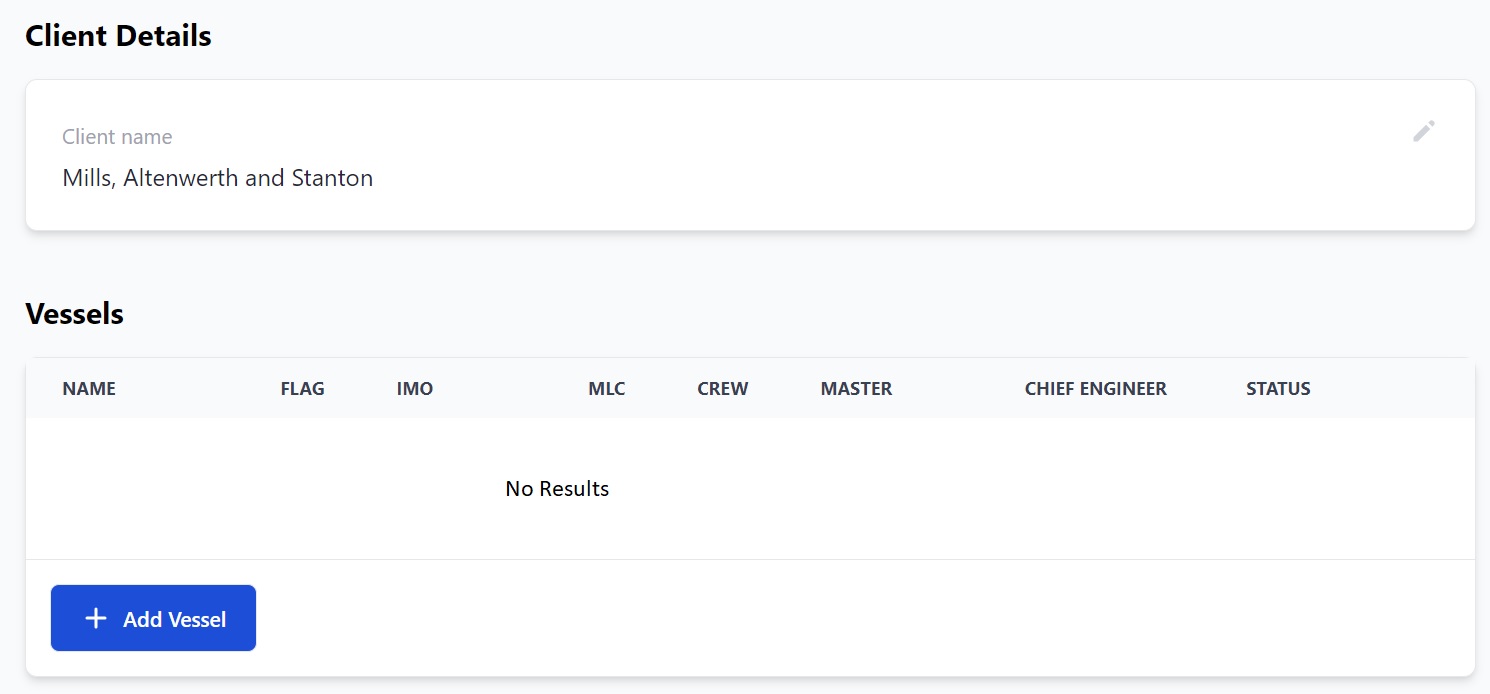
Here you can:
- Edit your client's name.
- Add your client's vessels.
Scroll down and you will see:
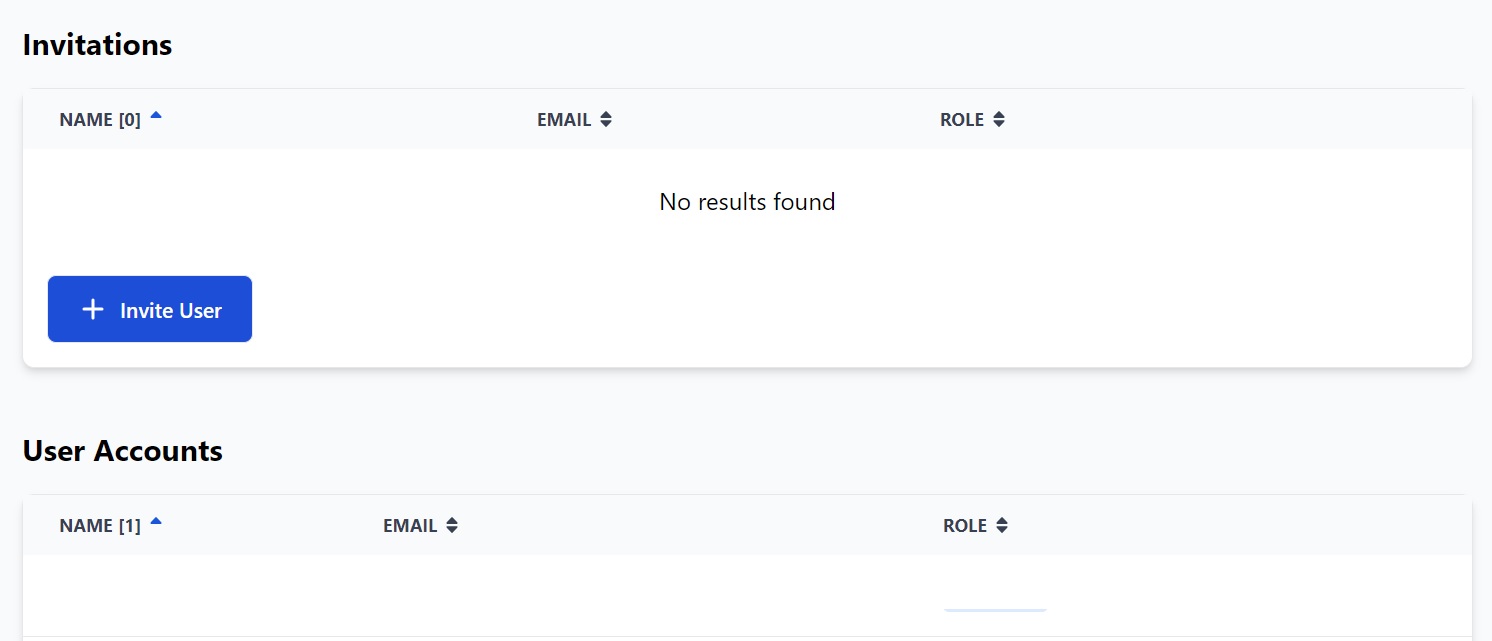
Here you can:
- Invite your client's users to join you.
- View and edit your client's current users.
How to add a client's vessels
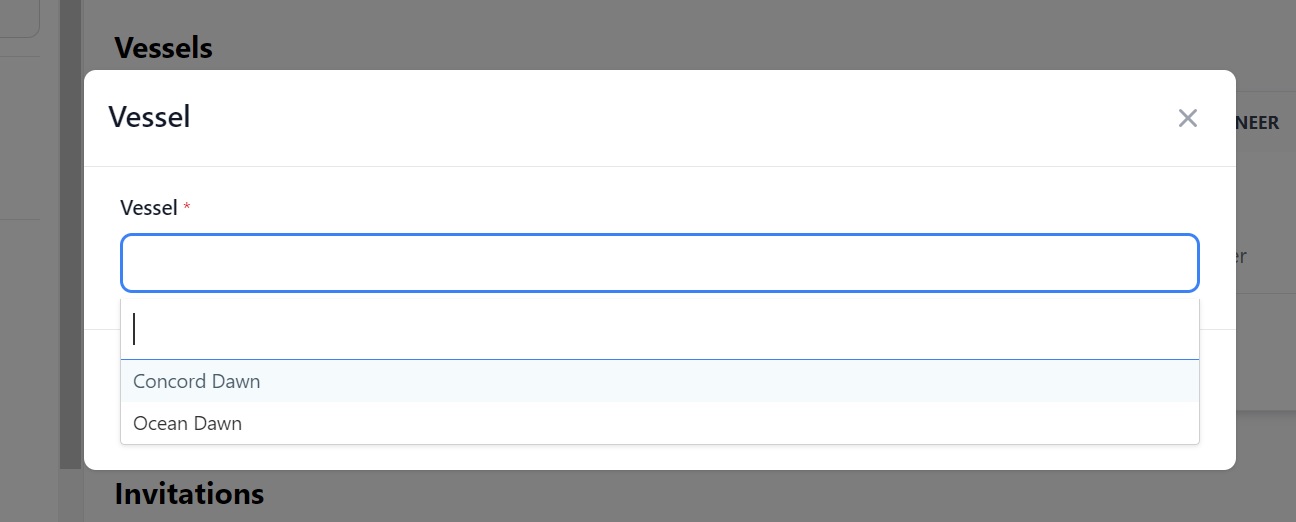
Click the Add Vessel button in the Vessels section. You'll see this pop-up box. Select the client's vessels from the list:
The vessels and their relevant information will now appear on the page :
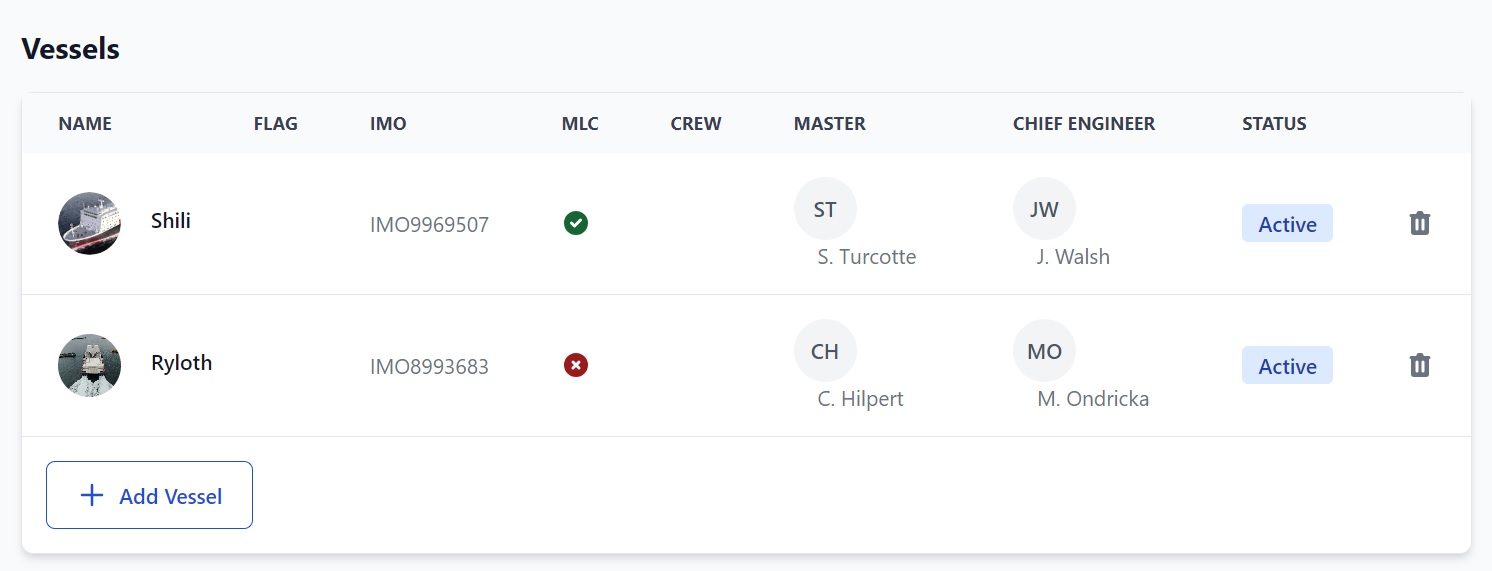
How to add a client's users
Click the Invite User button in the Invitations section. You'll see this pop-up box. Enter the name and email of the user you want to invite:
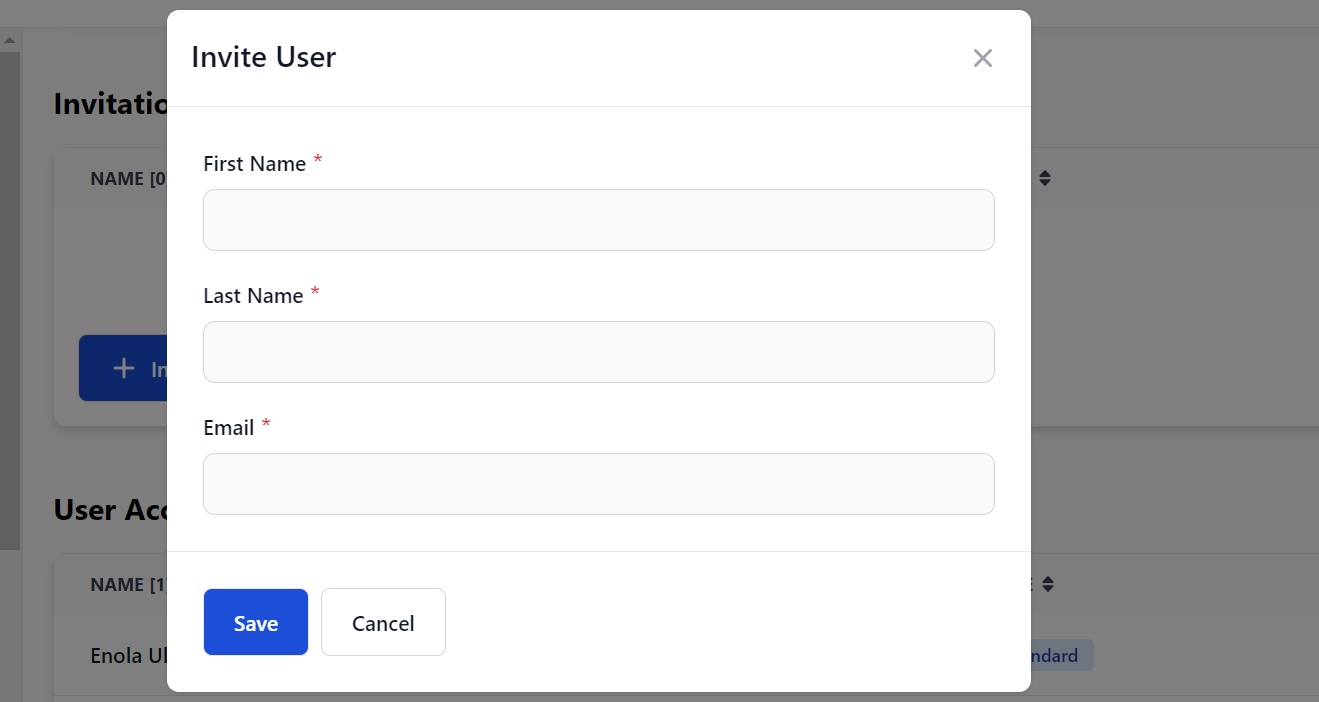
When you click Save, an email asking them to create a Martide account will be sent to the user. They will appear in the Invitations section.
Once the user has created an account they will appear in the User Accounts section:

How to sort, edit, and delete users
If you have a lot of users you can sort them from A-Z or Z-A to make it easier to find them by clicking the arrows next to Name, Email or Role. To edit them, click the pen icon. To delete them click the trash can icon.
A couple of notes about Clients
Your Client will need a Martide account so their vessel(s) appear in the drop down box.
When you want to give a Client access to the Pipeline you need to turn the Outsource Client function on. You will see this option when you add a new Stage to the Pipeline.
For example, if you want a Client to book travel for a hired candidate, when you add the Flights Stage to your Recruitment Pipeline make sure Outsource Client is blue - this means it's turned on.